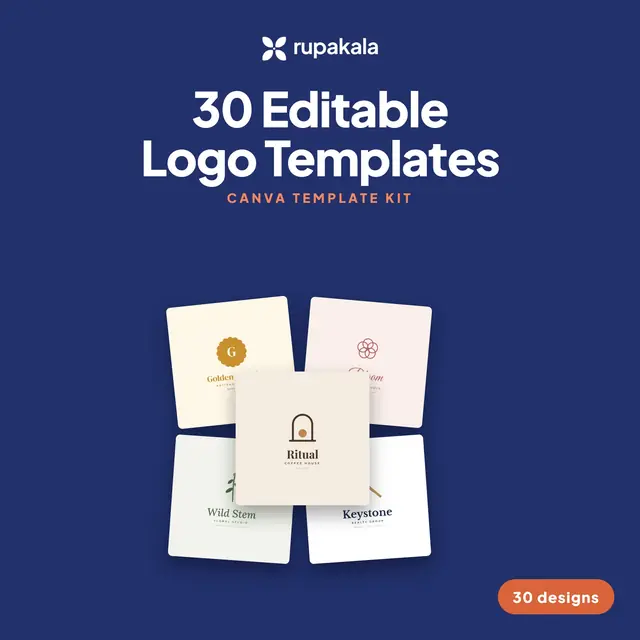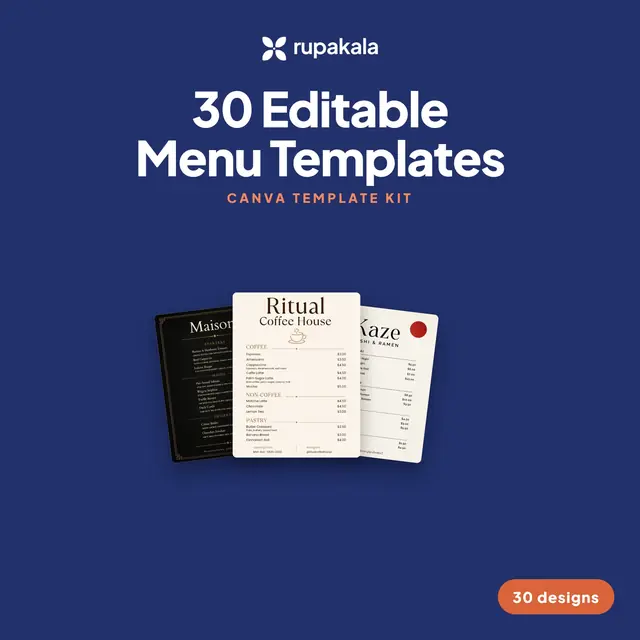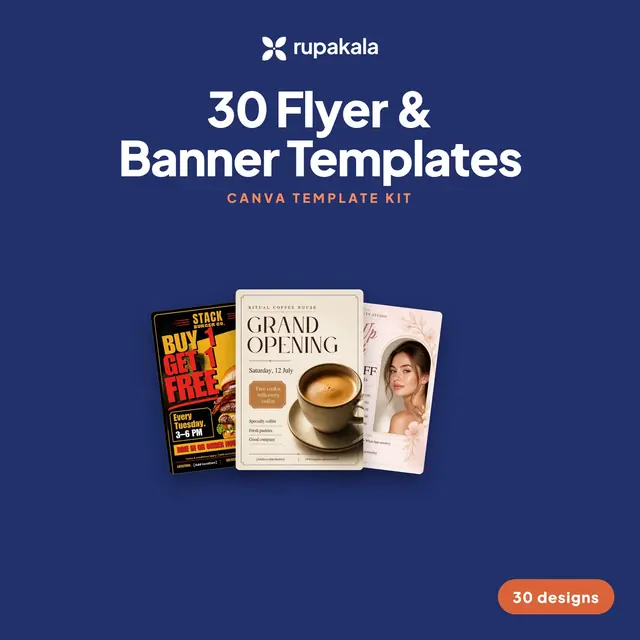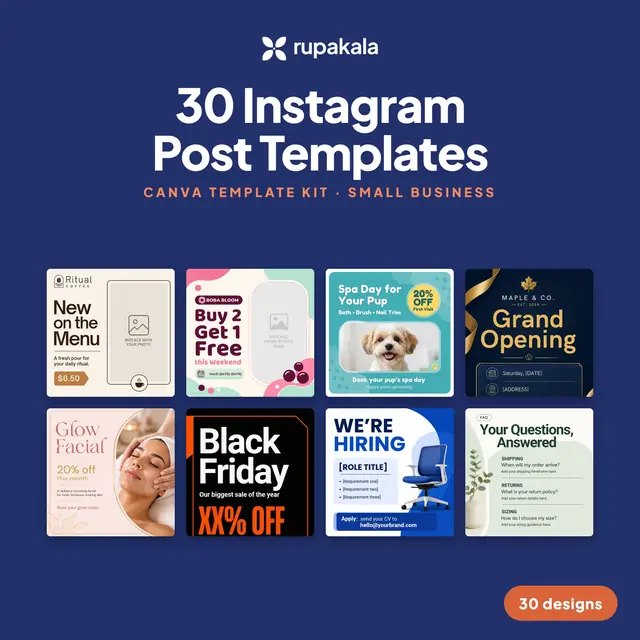
What a Canva template actually is
A Canva template is not a file you download and open. It is a design that lives in Canva, shared through a special link. When you open that link, Canva makes a copy of the design in your own account. Your copy is yours: you can change anything in it, and nothing you do changes the original or anyone else's copy. That is also why the seller sends you a PDF instead of a design file: the PDF simply holds the link, and sometimes a few tips.
You need two things: a Canva account and an internet connection. A free account is enough for almost every template. You can work in a web browser on a computer, which is the easiest for detailed edits, or in the Canva app on a phone or tablet.
Step 1: Open the template link and make your copy
- Download the PDF that came with your purchase and open it.
- Click the template link. If you are on a phone, the link may open the Canva app; on a computer it opens canva.com.
- Log in or create a free account if Canva asks you to.
- Click Use template for new design. Canva creates your copy and opens it in the editor.
Your copy is saved under Projects in Canva. You only need the link again if you want a fresh, untouched copy, for example to make a second menu for another branch. Keep the PDF somewhere safe for that reason.
Step 2: Find the design you want
Kits often hold many designs in one file: 30 logos or 30 menus appear as 30 pages, one under the other. Scroll down or use the page thumbnails at the bottom of the editor to find the one you like. To keep things tidy, click the Duplicate page icon above that page, then work on the duplicate and leave the original as a backup. If you only need one design, you can delete the pages you do not need from your copy; the template link will still give you all of them again later.
Step 3: Change the text
Double-click any text box to type in it. Replace the placeholder business name, prices and dates with your own. The names you see in previews are invented examples, so replace every one of them. A few practical tips:
- If your text is longer than the placeholder, make the box wider by dragging its side handles, or lower the font size in the toolbar, rather than letting words break awkwardly.
- To change the font, select the text and click the font name in the toolbar. Pick one or two fonts for the whole design and stick to them.
- Use Find and replace (in the File menu on desktop, or Ctrl+F on Windows and Cmd+F on Mac in the editor) to change a business name that appears on many pages at once.
Step 4: Change colours to match your brand
Click a shape, a line or a piece of text, then click the coloured square in the toolbar. You can type a hex code such as #22306B if you know your brand colours. To recolour the whole design in one go, open Design in the left panel and try Styles: Canva shows colour palettes and applies one to every page. Check the result, because a style can put light text on a light background. Keep enough contrast between text and background so a menu can be read in a dim café and a flyer from across the street.
Step 5: Replace the photos and the logo
Most templates have photo frames. Upload your own pictures through Uploads in the left panel, then drag a photo onto the frame: it snaps in and is cropped to fit. Double-click the photo inside the frame to move it around or zoom. For your logo, upload it as a PNG with a transparent background if you have one, and drag it into place. If you do not have a logo yet, a Canva logo kit is a quick place to start.
Step 6: Pro elements on a free account
Some templates use photos, graphics or fonts from Canva's own library that are part of Canva Pro. You will see a small crown icon on them. With a free account you can still edit around them, but Canva will ask you to upgrade before you download a design that contains them. You have three choices:
- Replace them. Select the element, delete it, and add a free photo or graphic from the Elements or Photos tab (filter by free). For a photo frame, drag a free photo or your own upload onto it. This usually takes a minute.
- Use your own pictures. Your uploads are always free to use.
- Use Canva Pro if you already have it, or try it during Canva's free trial.
All Rupakala Canva kits are made to work with a free account; where we used a Pro item, a free swap keeps the layout intact.
Step 7: Download for print or for social media
Click Share at the top right, then Download, and choose a file type:
- PNG for logos, social posts and anything with sharp text on screen. A transparent background is a Pro option; on a free account the background stays filled.
- JPG for photos and posts where a small file matters.
- PDF Print for menus, flyers and anything you take to a printer. If the print shop asks for bleed, tick Crop marks and bleed. Choose the pages you want under Select pages so you do not print all 30.
Before you print 200 menus, print one copy at home and read it once more on paper. Typing errors are far easier to spot there than on a screen.
Step 8: Keep it organised for next time
Give your copy a clear name, for example "Menu 2027 Main Street", by clicking the title at the top of the editor. Put related designs into a folder under Projects. When prices change, open the same design, update the numbers, and download again: there is no need to start over.
Common problems and quick fixes
- The link opens a view-only page. Look for the Use template for new design button; you may need to log in first.
- The fonts look different. Some fonts are only in Pro. Pick a free font with a similar shape, such as a clean sans serif for a modern look.
- Text is cut off after editing. The text box is too small. Drag its edge or reduce the size slightly.
- The printed colours look darker. Screens are brighter than paper. Lighten very dark backgrounds a little, or ask the print shop for a proof.
That is the whole process. Most people finish their first design in about twenty minutes, and the second one in five.